Oui, oui oui il est enfin là!

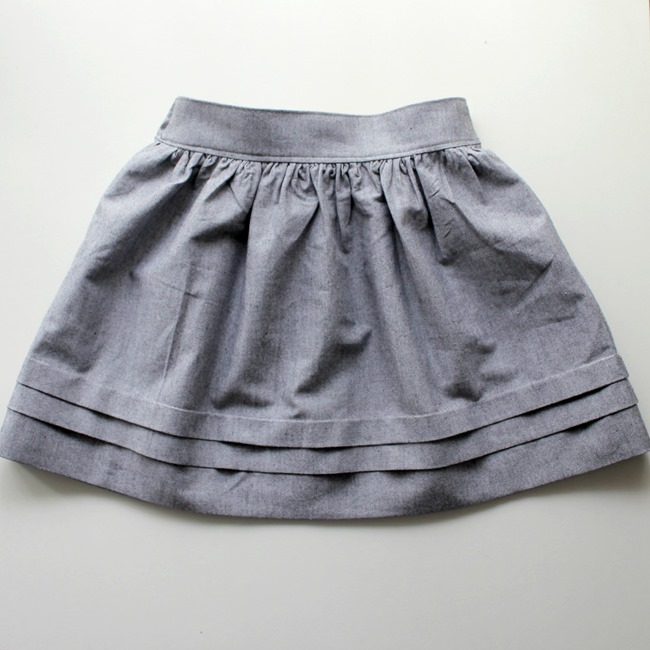
Yes, yes, yes it’s finally here – how to make your very own Paris skirt in any size! I know it has taken awhile but here it is. Now before I get started I want to apologise for the lack-lustre photos, you see it is winter here and I have a finite time period with good light to get pretty good photos and to be honest it is about an hour not really enough time to write a tutorial, sew the skirt and take photos so I decided the photos would just have to suffer a bit. Also the weather wasn’t particular kind on the day I dedicated to this project, one minute the sun was out the next minute it was pitch black, but I figure you will all forgive me because the tutorial is finally here! (Oh no comment on our lovely ironing board cover lol)
Ok, lets get started! First up some maths (it’s easy I promise).
Grab a tape measure and take the waist measurement of the person the skirt is for. Record it as A = ?. [For example I’m making a size 3 so A = 54cm]
Divide the waist measurement by 2. [eg 54cm / 2 = 27cm]. Record is at B = ? and D = ? [eg B = 27cm and D = 27cm]
Add 2cm to your A & B measurements for your seam allowance. These are now your A & B measurements [eg. A = 56cm, B = 29cm]
You still with me? Ok.
Measure the from the waist to where you want the skirt to sit when finished and add 15cm to allow for the pleats and hem (only add 7cm if you don’t want the pleats). [eg. My skirt is going to sit on the knee with pleats so 28cm + 15cm = 43cm] Record it as C = ? [eg. C = 43cm]
That is pretty much the maths all sorted. Time to work out how much fabric you need and get cutting.
You are going to have 4 pieces of fabric in total and 1 piece of iron on lightweight interfacing so here is what to cut:
WAISTBAND – Back – 1 piece of fabric 10cm x A [eg. 10cm x 56cm]
WAISTBAND – Front – 1 piece of fabric 10cm x B [eg. 10cm x 29cm]
SKIRT – 2 pieces of fabric A x C [eg. 56cm x 43cm]
INTERFACING – 1 piece measuring 8cm x D [eg. 8cm x 27cm]
So what fabric should you use? Anything really. For this tutorial I am using oxford and for the previous one blogged about HERE I used a lightweight cotton. I’m a cotton fabric fan but I am sure rayon’s and blends will work a treat.
You are also going to need matching thread and 25mm wide elastic approximately D – 2cm long (DON’T cut it yet but if this is all you have then you will get away with it!)
This is what you should have ready to go.

Ready? Let’s get sewing!
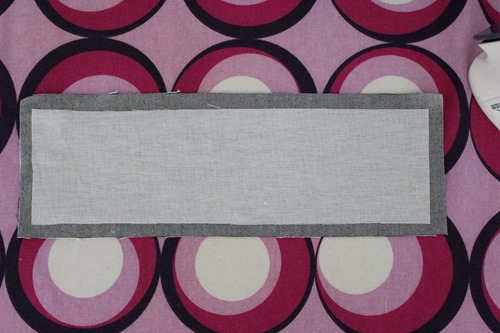
STEP 1 – Heat up your iron and iron everything. Iron the interfacing to the WRONG SIDE of the front waistband fabric piece making sure you centre it (and the shiny glue side is touchy the fabric). Fold front and back waistband pieces in half wrong sides together and give them a really good press. Unfold.

STEP 2 – Pin, right sides together, the back waistband piece with the top of one of the skirt panels. Stitch across. (I am using an overlocker but sewing on a normal machine will work no problems at all, just sew the seam 1cm from the edge). Put aside.


STEP 3 – We are now going to gather the top of the other skirt panel. To do this sew 3 (yes 3, trust me) rows of stitching evenly apart (I use the edge of the presser foot as a guide) on the longest stitch possible your machine does, leaving long tails of thread at each end. Don’t do any reversing or locking off stitches because we remove these rows of stitching later. By slowly pulling on the tails, at one end only, gather the fabric so it is as wide as the front waistband and pin. Sew together.


STEP 4 – Remove the gather stitching. Iron the seams of both the front and back waistbands up. (When you fold the waistbands back down you shouldn’t be able to see the seams)


STEP 5 – Pin the front and back pieces right sides together and sew all the way to the top of the waistband (make sure it isn’t folded over). Overlock the waistband and hem edges (or zigzag if just using a sewing machine). Look it is resembling a skirt!

STEP 6 – Iron down the waistband hem edge the width of the overlocking (or about 1cm if zigzagged) and iron up the bottom hem the same distance.

STEP 7 – For the hem with the wrong side of the skirt facing out fold up the skirt bottom 4cm from the pressed edge and press. (If you are lucky like me to have something that is 4cm wide keep it handy we are about to do a fair bit of 4cm pressing.) Sew hem about 3mm from top of the hem or 3.75cm from skirt bottom.


STEP 8 – Time for the pleats. Now don’t get scared they are actually quite easy and here’s hoping I do a pretty good job of explaining them (not sewing the pleats skip to STEP 10). With the wrong side of the skirt facing out fold the bottom of the skirt up 4 cm from hem stitching and press. Put a mark 2cm from the pressed edge. (This is your stitch mark. Also I really should have used contrasting thread!)
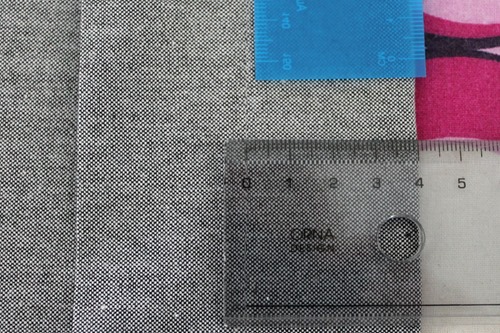
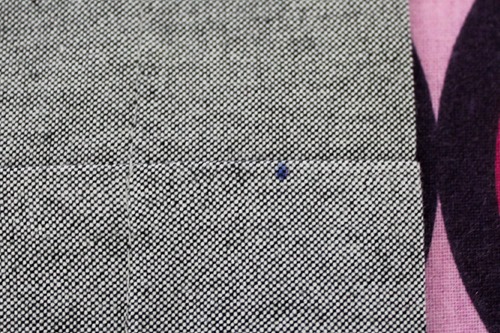
Line your needle up with the mark and find something on your sewing machine to follow. It should be close to the 3/4” mark on the machine. Stitch all the way around. Turn right side out and press down. 1st pleat down.


STEP 9 – For the 2nd pleat you do exactly the same as STEP 8 except you want to fold the skirt up 4cm from the stitch line of the 1st pleat. Press and stitch. Press 2nd pleat down.
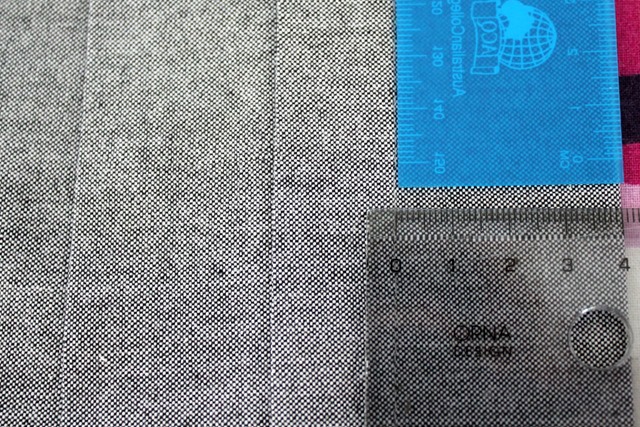
Pleats are done. See they weren’t too hard were they? Nearly finished!

STEP 10 – Since the iron is already out and hot, give the waistband another good press for good measure. Pin the BACK waistband only down, oh make sure the skirt is now wrong side out. Stitch the bottom of the BACK waistband down as close as you can to the bottom of the waistband (promise this is being stitched on the wrong side).
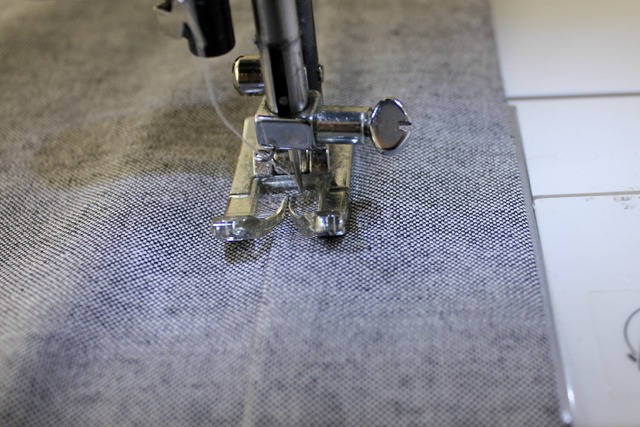
STEP 11 – Turn the skirt right way out and measure the distance from the bottom of the waistband to your stitching line (mine was 3mm). Turn the skirt back to wrong side out and measure the same distance from the top of the waistband (3mm in my case) and make a little mark on the side seam. Stitch ALL THE WAY around the top of the waist band.
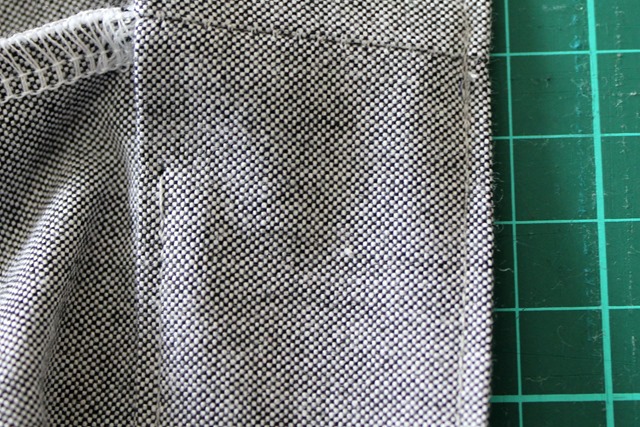
STEP 12 – Thread the elastic through the back casing you have just sewn. (Use a safety pin to make it easier.)Pin the elastic at the end where it pops out of the casing about 2cm past the side seam. Turn the skirt right side out and stitch the elastic in place along the side seam. Make sure you go back and forth a few times.


STEP 13 – Try the skirt on the recipient and gather skirt along the elastic till the fit is right. If you are just going by measurements, measurement D – 2cm usually works. Pin in place about 2cm past the side seam. Make sure the skirt is right side out and stitch the elastic in place along the side seam. Make sure you go back and forth a few times. Trim the end of the elastic till about 0.5cm from the side seams.

STEP 14 – Pin and sew down the bottom of the front waist band. Remember to line up with the back waistband stitching. And guess what???? YOU”RE FINISHED!!!!!!!!!!!!!! Throw the skirt on if it’s for you, or put on it’s recipient and admire your handiwork!!! Great job!!!
A few notes –
-
This tutorial was made for a child’s size skirt. If making an adult skirt you may want to reduce the amount of fabric in the back panel if you find it is bulky. I haven’t made this particular skirt for me (yet) but I have made a number of standard full elastic waisted skirts and tend to use about 1.75 x waist measurement as a guide. Just a thought.
-
You can vary the width of the waistband thicker, thinner. Play around find what you like.
-
Why 3 gather lines when the standard is 2? Well, 3 simply gives neater gathers. When you use 3 the pleats are tighter and line up better. I promise once you try this you wont go back!
Make sure you share with me your creations I would love to see them!


