Showing posts with label Christmas. Show all posts

Christmas wrap up

A belated “Merry Christmas” to you all. Hope you all had a fantastic time with friends and family, ate great food and received some wonderful gifts. Christmas for us was small this year which was a little odd (we usually spend Christmas with all my partners family, we are talking 20+ people) but a wonderful day all the same, followed by Boxing day with good friends. In the lead up to Christmas we also hosted our first Christmas party for all our friends. It was a wonderful night and worth the 3am bed time and something we hope to do every year.


merry christmas

Christmas for me is all about giving wonderful gifts. I think long and hard about what to get each person and if I can make it, I will. This year I made personalised pillowcases, a cushion, babysitting vouchers, jute and yarn coasters, tablerunners (with help from my lovely lady), dishcloths (pattern here), Christmas pudding (recipe here) and reindeer noses. (Hence the lack of posts of late.) The presents were wrapped in twine with beautiful labels made by my partner on her typewriter.


blue pink pillowcase  pink pillowcases  screenprinted cushion  babysitting voucher

coasters  blue tablerunner  magenta table runner  pink table runnerDishcloths  Reindeer noses  handmade presents

And it wouldn’t be a Christmas wrap up without me sharing with you what I was grateful to receive……….pic below!!! I was one lucky girl and this is the first time I have turned the desktop on since before Christmas as I can now access the net from the convenience of the couch (my laptop died about 18months ago and we had not replaced it, till now!)


new toy

Felt candy canes

Christmas is getting closer and with that comes another Christmas themed post. Today it is felt candy canes to put on a wall, or you could even sew them together and make a garland, the possibilities are endless. Now I have been putting off this tutorial not cause I didn’t want to share it, but cause the weather has been less than ideal to take pictures. I know I am crazy, so needless to say the pictures are not smashingly good as in the end my need to share this tutorial was greater than my wish to get perfect photos.


Candy cane finished

It is a simple project that you can do with the kiddies, or if you are after a perfect candy cane, by yourself! To make it easier I have made the candy cane pattern available for download so download the pattern HERE and gather your supplies. (Print the pattern in portrait on standard A4 paper)


You will need:

  • Red and white felt
  • Glue (PVA, craft, whatever is on hand really)
  • Scissors
  • Pattern
  • Pen (to trace the pattern with)
  • Blue tac (if sticking to the wall)

Candy Cane supplies 

Cut out the pattern out and place it on the felt. Trace around the pattern and cut out the candy canes. You need to cut out red and white candy canes and you want twice as many red ones than white ones. (TIP: work out which way you want the candy canes to go & turn the pattern over so the pen marks are on the back. I just use a normal ballpoint pen!)


Candy cane tracing

Working with two red and one white candy canes at a time. Cut the white candy cane in stripes, use your creativity make some small, some big or be a perfectionist and make them even. It is a little hard to explain so fingers crossed the pictures tell a 1000 words. Basically the white candy cane becomes the stripes. Line up the white “stripes” on the red candy cane and glue them on. Your candy canes are done!


Candy candy construction

All that is left is to stick them on the wall. Our wall is starting to look very Christmasy.


Candy canes on the wall

Just a note: I have made this free for you all in the spirit of Christmas for personal use only. Please do not sell the pattern or any Candy Canes you make. Thanks and Merry Christmas!

A Christmas printable

Christmas is getting closer and our house is starting to look more and more festive with each passing day. Today I got around to completing a little printable to put in a spare Ikea SAXNÄS frame which you can use too for FREE!!! That’s right I have made it a printable for all of you to use! We all love free stuff so here it is – DOWNLOAD PRINT HERE.

printable snippet

Now just a mini tutorial for those wanting it to fit in the SAXNÄS frame. I got mine printed at Officeworks (if someone knows somewhere cheaper please let me know) and because the frame size does not match our paper sizes here in Oz, I had to get it printed on A1 poster size and trim it down so here is how that works.


Firstly get it printed with NO SCALING on A1 paper. Next take the “glass” (i know it is plastic) out of the frame and put it over the image. You want there to be a 2.5cm boarder between the red and the frame.

printable measuring

Trace around the frame with a pencil. Remove the frame and cut around with scissors about 1mm inside the line (otherwise the picture will be just that bit too big for the frame). Of course if you have a cutting mat big enough by all means use a cutting wheel/exacto knife to cut it quick smart. I of course do not – “drats”!

Printable tracing

Remember to remove the protective film from the “glass”and pop the poster into the frame and voila you are done!!!!! Hang it on the wall to share some Christmas cheer!!!!!

printable on wall

Just a note: I have made this free for you all in the spirit of Christmas for personal use only. Please do not sell the design or any you print off. Thanks and Merry Christmas!

Christmas Pudding

Let me start with an apology, “I’m sorry”. What for you ask? Well, for no 1 simple photo on Friday. It was intentional you see, with the plan of launching my Christmas posts on the 1st December however, circumstances beyond my control left me unable to start the posts, so again “I’m sorry”. The 4th December is just as good day to start right???


So here we go! The beginning of my Christmas posts is finally here and what’s a better way to start than with a Traditional Christmas Pudding! I would love to say that my Christmas pudding recipe was handed down to me, but unfortunately the recipe my nan used seemed to get lost through time. So when I started making the puddings 4 years ago I picked Mum’s brain and hit the books and based mine of the one that closest resembled what I remembered from my childhood. Thanks Donna Hay!!! Today I share my recipe with you.


Christmas pudding

Pudding is one of those things that taste better as the days go on. This recipe takes at least 2 days to make, but I assure you it’s not 2 days of constant work! It is quite simple to make and very therapeutic and nothing gets you in the Christmas spirit like the sweet fumes on brandy soaked fruit! Time to get Christmas started!


Christmas pudding day 1

Christmas pudding mixing

Christmas pudding day 1 final

Christmas pudding day 2

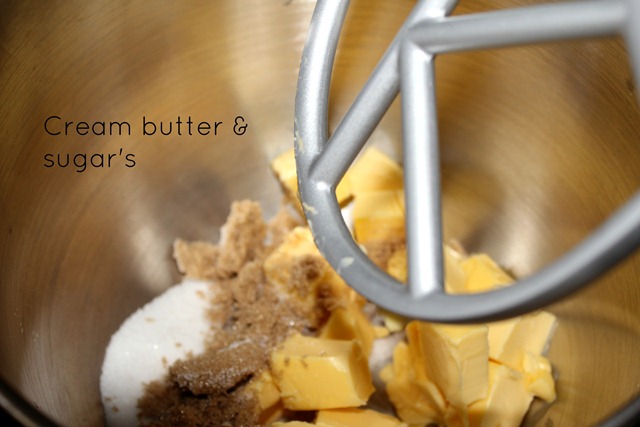
Christmas pudding butter

Christmas pudding fluffy butter

Christmas pudding eggs

Christmas pudding combining

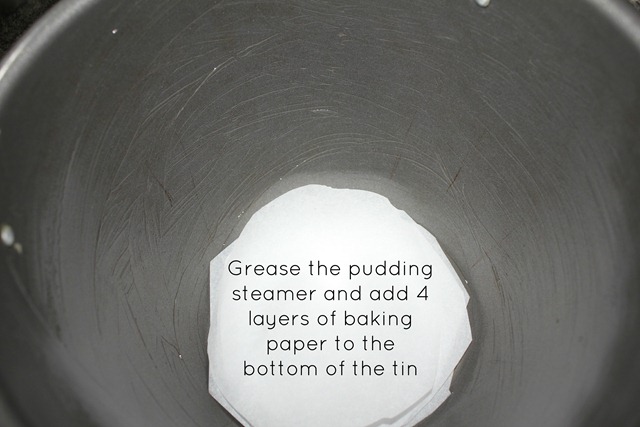
Christmas pudding steamer

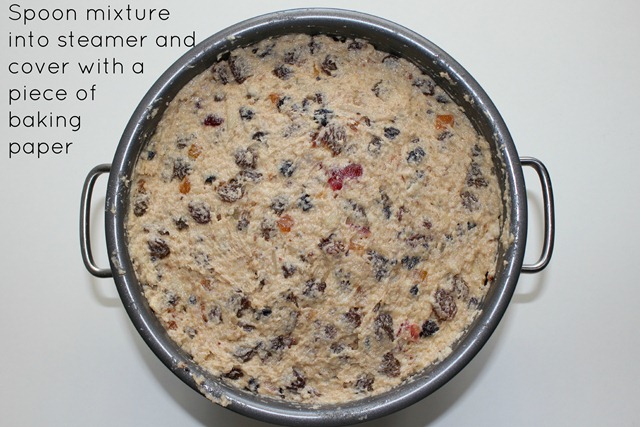
Christmas pudding in steamer

Christmas pudding stock pot

Christmas pudding cookie cutter

Christmas pudding boiling

Christmas pudding finished

Few notes along the way:

  • Use the best mixed fruit you can afford it does make a difference.
  • While the fruit mixture is soaking give it a stir every now and then to turn the fruit over as the brandy tends to sit in the bottom on the bowl.
  • I tend to soak the fruit from between 24-48hrs, but as little as 4hrs will work.
  • 250g of fresh breadcrumbs is nearly a whole loaf of bread. I tend to take the crusts off.
  • The reason for baking paper in the bottom is to prevent it from burning.
  • The cookie cutter in the bottom raises the pudding off the bottom of the pot also preventing burning. You can also use a upturned plate.
  • You will need to top up the water every 30mins or so when you do so fill the kettle and boil it so it is ready to go next time.
  • I always let cool in the tin and then turn it out and just microwave it to heat it on Christmas day.
  • The pudding can be made 2 months ahead. Just wrap tightly with foil and keep in the fridge.


Sorry for no pic of the inside, but this pudding is off to my parents who are away for Christmas and I don’t think they would be happy with a precut pudding! Enjoy your puddings!


TRADITIONAL CHRISTMAS PUDDING

1kg mixed fruit

2/3 cup candied mixed peel

2/3 cup slivered almonds

2/3 brandy

250g softened butter cubed

1/4 cup brown sugar

1/4 white sugar

3 eggs

1 cup plain flour

1tsp ground cinnamon

1tsp mixed spice

250g fresh white breadcrumbs

2/3 cup milk


Combine the mixed fruit, candied mixed peel, slivered almonds and brandy in a large bowl. Cover and allow to soak overnight. Stirring occasionally.


In the  bowl of a mixer cream the butter, brown sugar and white sugar till light and fluffy. Gradually add the eggs beating till well combined. Add the fruit mixture, flour, spices, breadcrumbs and mix and combine with a wooden spoon.


Grease and place 4 layers of baking paper in the bottom of a pudding steamer and add mixture. Put a layer of baking on top and put the lid on the steamer.


In a large stock pot place a cookie cutter on the bottom and place pudding steamer on top. Add boiling water (use your kettle) till it is 3/4 of the way up the sides of the pudding steamer. Boil for 2hrs 15mins topping up water every 30mins. Remove from water and allow to cool in the steamer. Turn out on a plate. Wrap in foil and store in fridge till Christmas.


On Christmas day heat in microwave and serve with custard!